
What is the Hosts File?
A bit of history:
The hosts file is a configuration file used by computer operating systems to connect domains with IP addresses. It originates in a time around ARPANEt – the pre-cursor of the internet, when the internet was composed of a few websites and domains. As the internet grew the maintenance of each hostfile (on each server) became unattainable and the distributed Domain Name System was created to simplify this.
This file can still be useful today however, and is a neat trick to override the DNS system. It can be used to force the computer you are using to point to a specific IP address for a website or domain name and can even be used to deny access to a website domain completely by pointing it to an invalid /internal IP.
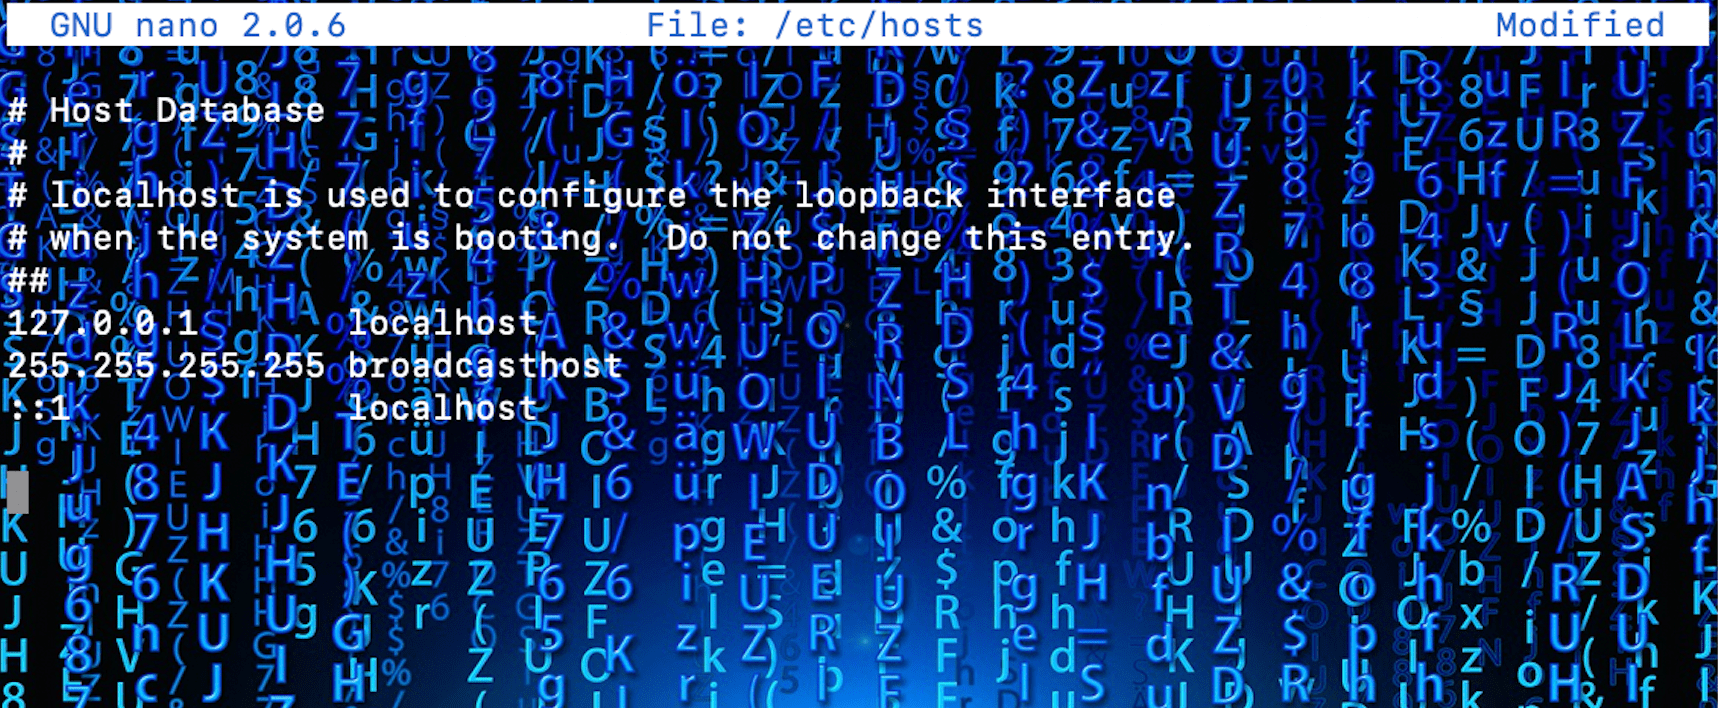
An example hostsfile wth some entries (don’t use these this is purely an example!)

Why you may need to edit the Hosts File?
In very rare cases, the SharkGate firewall can detect unusual requests to a website and block them or flag them as suspicious. As a website owner or administrator you may wish to bypass the firewall to prevent from being blocked. To do this is relatively simple, also note that this change only affects your own computer without affecting how the domain is resolved worldwide. First, we highly recommend clearing your browser cache or try an incognito or private browser.
Below are the instructions for the three main operating systems:
Windows
- Open your system root folder, aka as C:Windows/System32/drivers/etc
- Click on the hosts file with the right mouse button and select Edit with Notepad from the drop-down menu.
- Go to the bottom of the file and add the desired IP followed by the host name (or domain name). Save the file
- To make sure the change is done you can run the cmd (Command Prompt) window and ping the domain name.
Mac
- Open Terminal, type sudo nano /private/etc/hosts and press Enter to launch the host file. You’ll need to also enter your admin password to execute it, as with all sudo commands.
- You will now have the hosts file open in the editor. Use the arrow keys on your keyboard, to navigate and edit the file.
- Like with the Windows method you have to add the desired IP followed by the domain name and press Control-X to exit and Y to save the file.
- From the Nano editor call the domain name by ping domainname.com and make it has taken effect.
Linux
- Launch Terminal, type sudo vim /etc/hosts and press Enter. Enter your administrator password (if needed).
- You will now have the hosts file open.
- Like with the Windows & MAC method above you should just add the desired IP followed by the host name (or domain name).
- Press Control-O to save the file.
- Use your Web browser to test the changes and flush the cache with dscacheutil -flushcache if they still haven’t taken into effect.
(if your operating system isn’t listed here or you are unsure then please visit oncehoursitefix.com (link) and chat with one of support technicians)


Leave A Comment